Filezilla#
Installation#
-
You need to download and install the software FileZilla Client from this link : https://filezilla-project.org/download.php?type=client
-
When the installation is done, you can register the credentials for the Lizmap FTP server.
Register a Lizmap FTP server#
- 1 By email, you should have received all informations about credentials, URL etc.
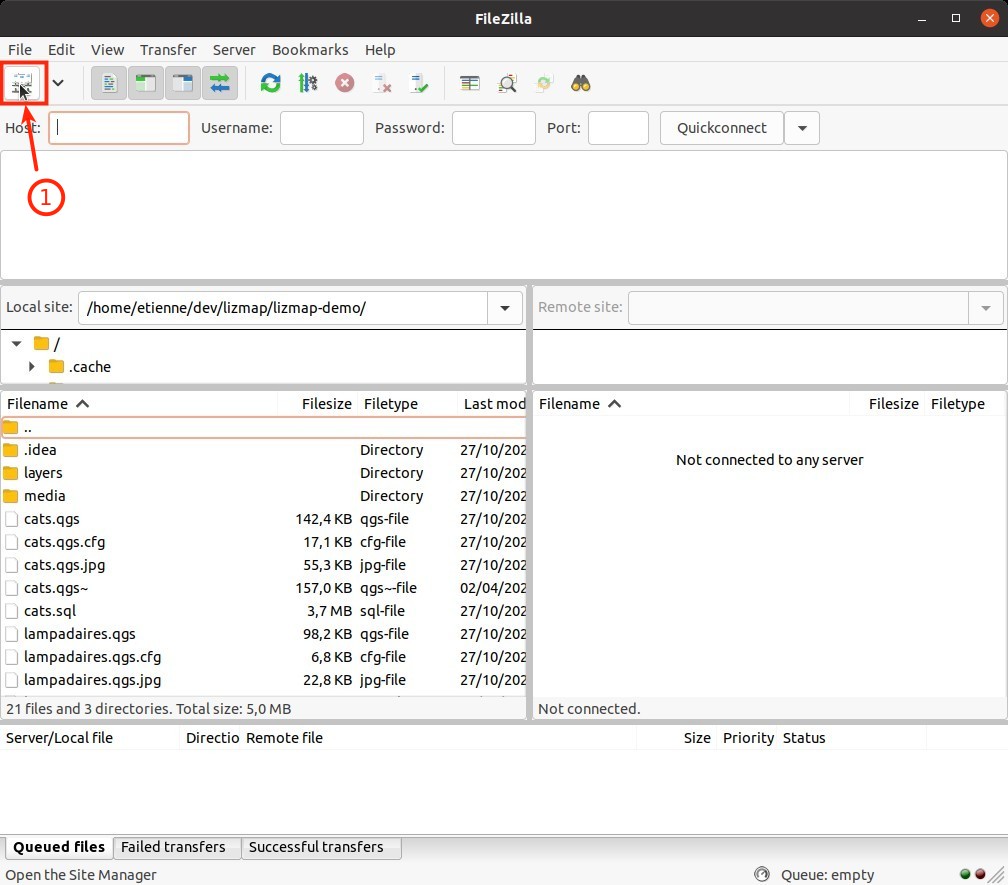
- 2 Open FileZilla Client
- 3 Click on the first icon in the toolbar
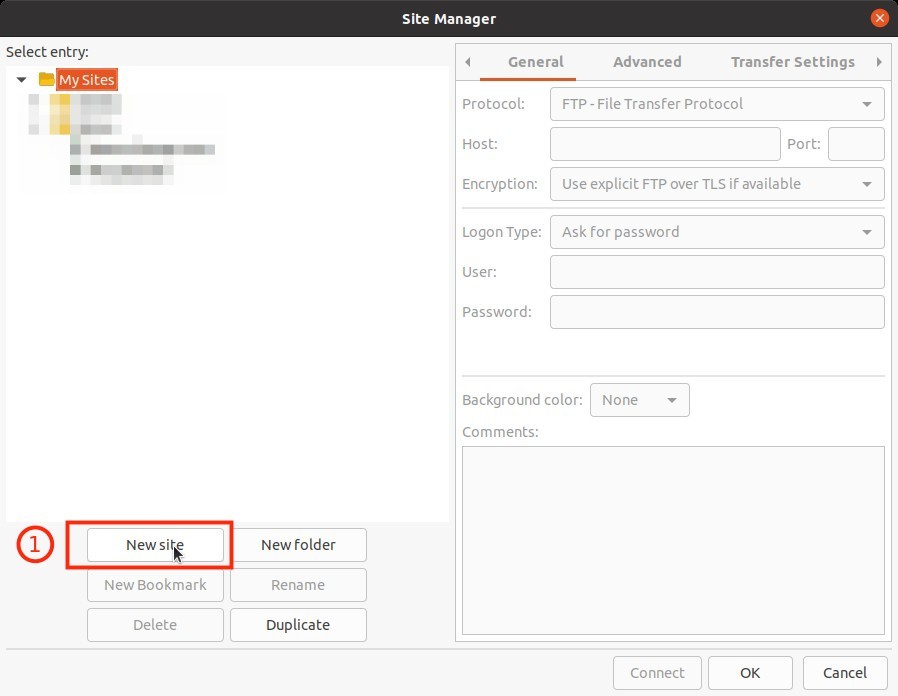
- 4 New site
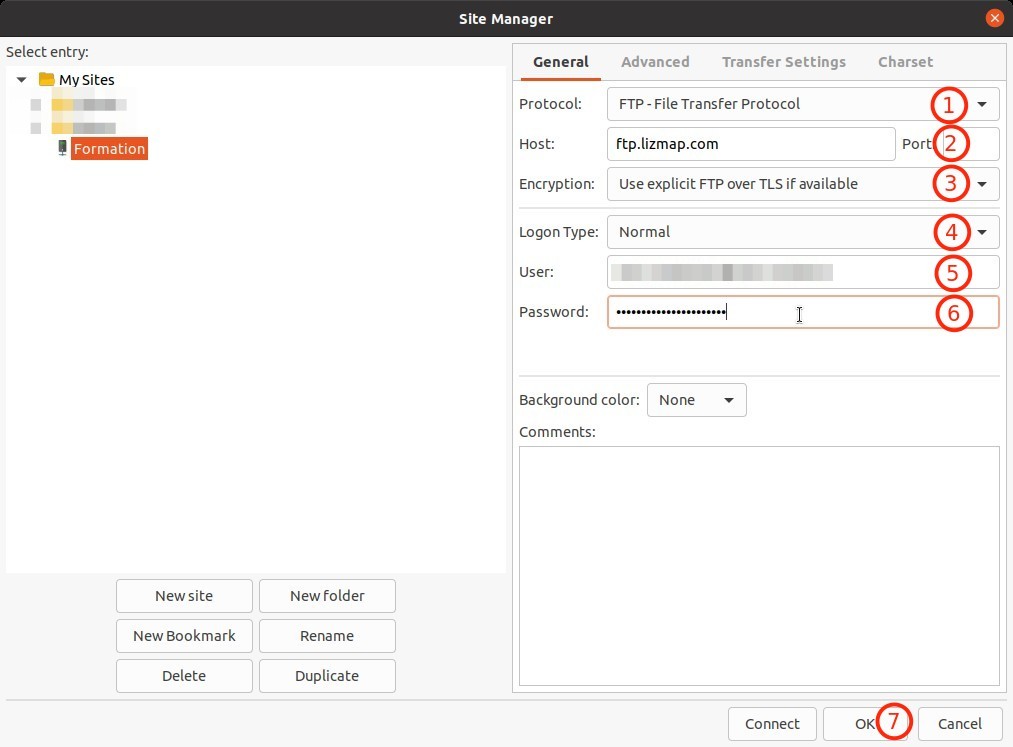
- 5 Fill all required information :
- 1 : Protocol :
FTP - 2 : Host : The FTP server in the email
- 3 : Encryption :
Use explicit FTP over TLS if available - 4 : Logon type :
Normal - 5 : User : The username in the mail
- 6 : Password : The password in the email
- 1 : Protocol :
Note, it's possible to synchronize the navigation between the local directory and the remote directory in the Advanced tab. You need to fill the local and remote paths and also toggle the two checkboxes in the tab.
-
6 Click ok for this server.
-
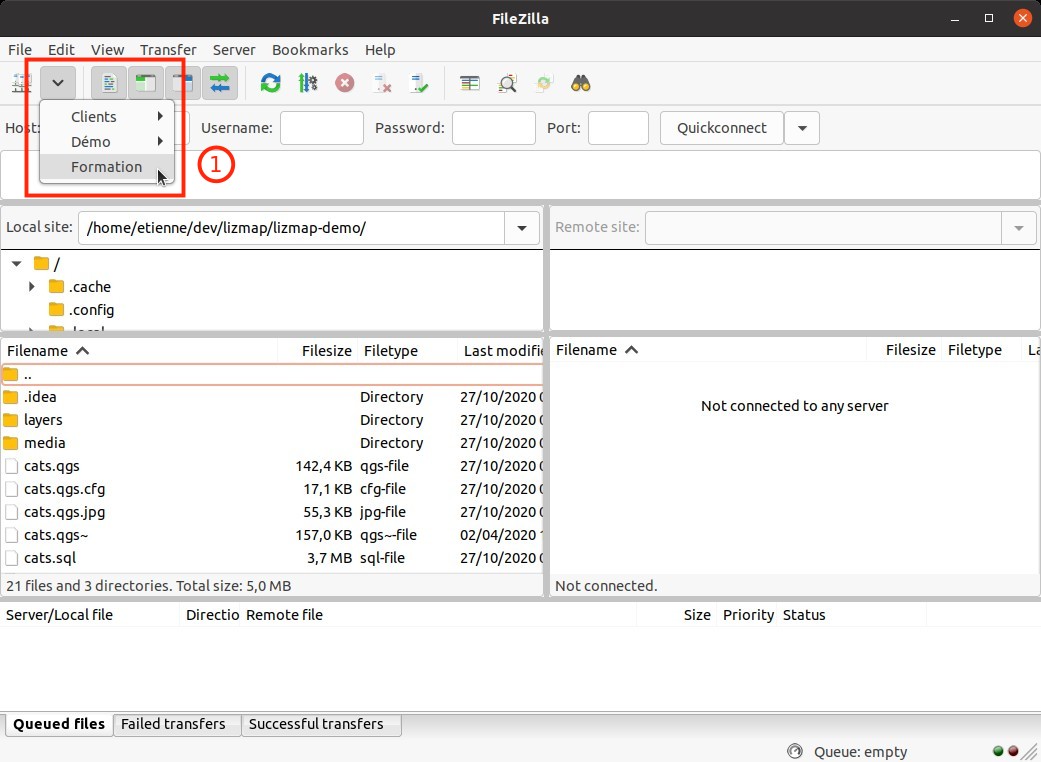
7 By using the second button in the toolbar, you can now connect to the FTP server easily.
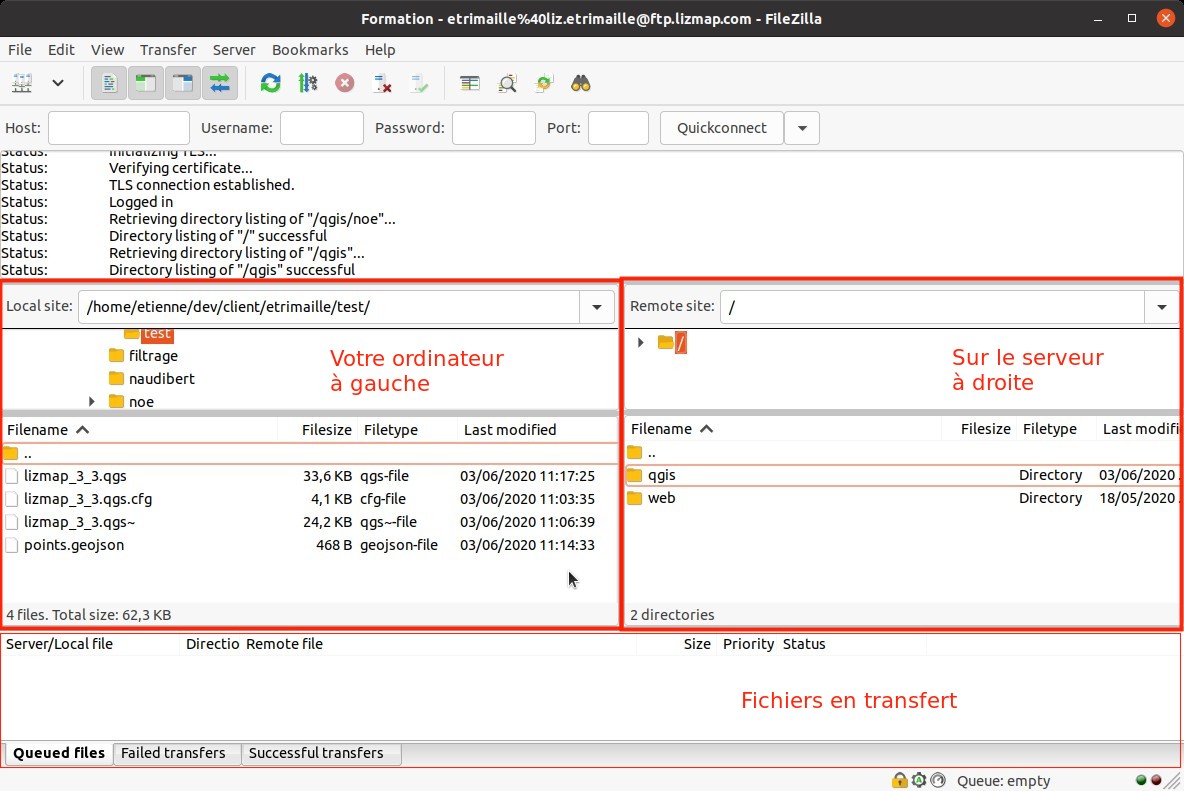
- 8 You should have a screen similar to this one :
-
Description of the user interface :
- At the top, some FTP logs about what is happening
- On the left, your computer
- On the right, the server
- At the bottom, data which are currently being transferred.
-
With a drag&drop, we can copy files from the computer to the server.
File tree#
On the server, always in the qgis, we are going to create directories which will be a Lizmap theme.
Then, in your Lizmap panel administration, you need to add the directory.
For instance :
1 2 3 4 5 6 7 8 9 10 11 12 13 14 | |